
So, you just moved in and you’re finally settling into your new kitchen. You go to rinse a mug, and there it is. Drip. Drip. Drip. A leaky kitchen faucet might seem like a small problem, but if you don’t fix it, you’re wasting gallons of water and just asking for to bigger issues like water damage.
Whether the leak popped up after move-in or was flagged on your inspection report, don’t ignore it. The good news? Many leaks can be fixed in just five minutes with a few simple tools and the right steps.
Here’s how to fix a leaky kitchen faucet, and how to tell when it’s time to call in a professional.
That Drip Isn’t Just Annoying
A single faucet leaking one drop per second can waste over 3,000 gallons of water a year, according to the EPA.
That’s not just bad for your water bill, it can also lead to:
- Rotting wood under your sink
- Mold or mildew growth
- Mineral buildup on fixtures
- Water damage spreading to nearby drywall or flooring
Leaks tend to get worse over time. A small drip today could turn into a spray or puddle by next month. Fixing it now helps avoid more expensive repairs later.
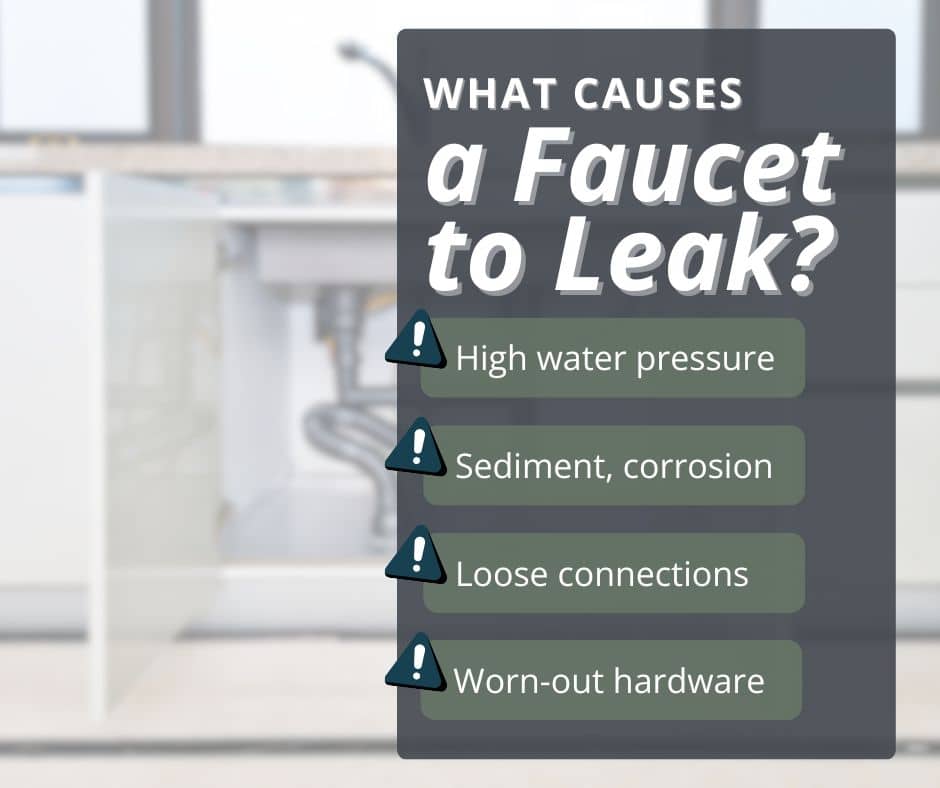
What Causes a Kitchen Faucet to Leak?
There are a few common reasons your kitchen faucet might be dripping:
- Worn-out washers or cartridges: These rubber or plastic parts inside the faucet can wear down with use.
- Loose connections: Screws or fittings may have come loose during the move or over time.
- Sediment or corrosion: Hard water can leave mineral buildup inside the faucet body.
- High water pressure: This can stress the parts inside your fixture and lead to leaks.
You may notice different kinds of leaks, dripping from the spout, leaking around the base, or water under the sink. Each can have a different cause, but they’re often easy to address with the same basic steps.
What You’ll Need to Fix It
Most minor faucet leaks don’t require special tools. Here’s what you’ll want to have on hand:
- Adjustable wrench
- Flathead screwdriver
- Replacement washer or cartridge (check your faucet brand/model…usually $5 to $20)
- Small towel or rag
- Bowl to catch water
Tip: Some brands like Moen or Delta offer free replacement cartridges if your faucet is under warranty. Look for a brand name on the faucet to check.
5-Minute Fix: Step-by-Step Instructions
1. Turn off the water supply.
Look under the sink and twist the hot and cold water valves until they’re off. Turn the faucet on to drain any remaining water.
2. Plug the drain.
Use a sink stopper or rag so you don’t lose any screws or parts down the drain.
3. Remove the faucet handle.
Most handles have a small screw on the side or under a decorative cap. Unscrew it and gently lift the handle off.
4. Replace the washer or cartridge.
Use your wrench to loosen the retaining nut. Take out the old part and install the new one exactly how the old one was positioned. If it’s dirty inside, wipe it clean with a damp cloth.
5. Reassemble and test.
Put everything back together, turn the water supply back on, and run the faucet to check for leaks.
If the dripping stopped, great job. You just fixed a leaky kitchen faucet in minutes.
Still Dripping? Try These Quick Fixes
If your faucet is still leaking, here are a few things to try before calling a plumber:
- Flush the lines: Sometimes sediment gets trapped in the cartridge. Remove it again, rinse everything, and reinstall.
- Check for cracks or warping: If a part looks damaged or doesn’t fit right, it may need a full replacement.
- Inspect water pressure: If the water blasts out fast, your home’s water pressure might be too high, putting strain on fixtures.
At this point, if the leak is still there, it might be deeper in the plumbing system.
While You’re Under the Sink
Since you’re already working in that space, take a few extra minutes to check for other common issues:
- Cabinet damage: Look for water stains or bubbling wood under the sink.
- Slow drains or odors: Could point to a clog further down the line.
- Loose supply lines or disposal fittings: Gently tighten if needed.
You can also unscrew and clean the faucet’s aerator to boost water flow and remove any gunk buildup.
When to Call a Professional
Not all leaks are simple fixes. You should consider calling a licensed home inspector or plumber if:
- The leak returns after you’ve replaced parts
- You see signs of mold, rot, or water under the cabinet
- The faucet is old and corroded, or you’re unsure what brand/model it is
- Plumbing under the sink seems damaged or improperly installed
Tier-1 Pro Inspections often catches hidden plumbing issues during buyer and seller home inspections. But if you’ve already moved in and notice something off, it’s never too late for a quick check from a pro.
Final Thoughts
Fixing a leaky kitchen faucet doesn’t need to be a major project. With a few tools and five spare minutes, you can stop the drip and keep your sink in great shape.
But if the issue runs deeper, or you’re not sure what you’re looking at, Tier-1 Pro Inspections is here to help. Our experienced team knows what to look for behind the walls and under the sink, so you can feel confident your home’s plumbing is in good shape.
Not sure if that leak is the only problem? Schedule an inspection with Tier-1 Pro and catch small issues before they turn into big repairs.